
It applies no matter whether the picture comes from, but has particular information about pictures that are already in Google Album Archive (because they were uploaded via Blogger or Hangouts or some other tool, eg Google Photos).
And pictures can be eithercan be photographs, or diagrams that you have made.
When you want to put a picture into a blog post, you can either:
- Upload it through Blogger's editor, or
- Upload it to somewhere on the internet first, and then just link to that location from Blogger.
I recommend uploading pictures outside Blogger because you can control the size and picture quality of the uploaded files: if you do the upload through Blogger, then the resolution is often reduced and this can make your pictures look fuzzy. However I do recommend using Picasa-web-albums as the "somewhere else on the internet, because only pictures stored in Picasa can be used as thumbnail images for your post.
How to put a picture into a post
1 Make sure you know where the original picture is and that you have copyright permission to use it.2 If the photo is not already on the internet, upload it to a tool (eg Flickr, Photobox, etc) that will give you the link to the picture. Or you can use Google Photos: if you do this, follow the approach described here to get tthe URL for the photo.
3 Copy the internet-location (ie the URL) of the picture file, (This article tells you how to find the location of a picture that's stored in-Picasa web-albums.)
4 Click the picture icon on the toolbar:

4 Enter the picture location into the box that opens.
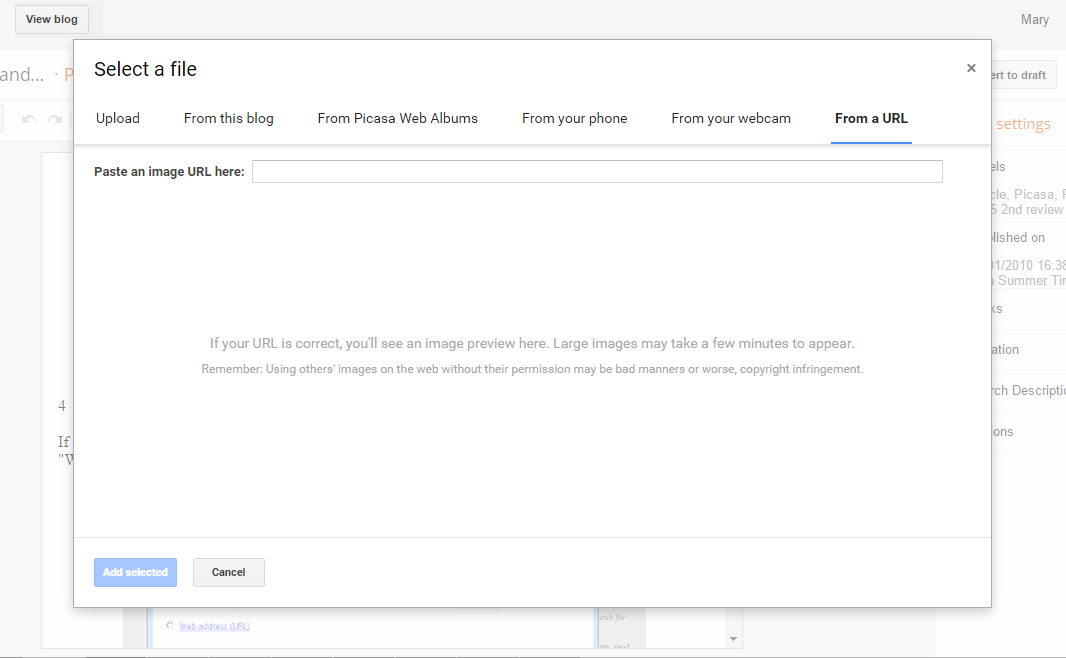
There are a number of options to choose from (these may change over time):
- If the picture is on your computer use the "Upload an image" dialog
- If the picture in in Google Photos or Google Album Archive (previously Picasa web albums, then use the Gooble Album Archive option
- If it is on the internet, use the "From URL" option.
Browse the pictures presented to you, and click OK to choose them.
5 Click Add selected.
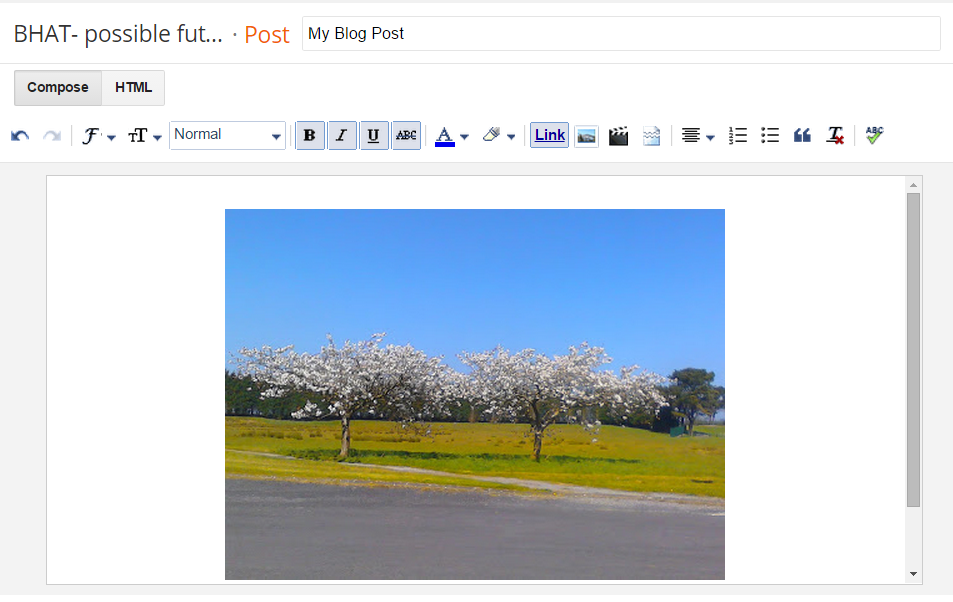
6 The picture you have chosen appears in your Edit Posts window.

Job Done! The picture will now be inside your post when you publish it. Course you will probably want to organise your text and your pictures a little more. Read on for information about how to manage these settings.
Controlling the pictures in your post
Size and alignment
When you click on a picture, a small menu opens (generally beside or under the picture), with options to:- choose the size (small, medium, large, extra-large),
- align it (left, centre or right)
- remove it

Aligning text and pictures
The most basic form of alignment is to make a picture to sit in the middle of a paragraph of text, rather than underneath it, To do this.- Go in to Edit HTML mode
- Locate the picture you want
- Delete the line before it that says
- Delete the first line after it that says
</div>
Picture Position
Quite often, pictures that you add through the toolbar are put at the start of the post, or perhaps the start of the current paragraph, instead of exactly where you want them.You can often move a picture around by drag-and-drop (click the picture, drag it, and drop it where you want it to go) - though sometimes this doesn't work as well as it should.
You may need to edit the HTML to move the picture around: to do this, go into Edit HTML mode, and find the code for your picture relative to the other text in your post. Every case is a little different, but in general the code for a picture looks like:
<a href="http://4.bp.blogspot.com/tkoGx2454hA/s1600-h/Inserting+a+picture.gif" imageanchor="1" style="margin-left: 1em; margin-right: 1em;"><img border="0" src="https://blogger.googleusercontent.com/img/b/R29vZ2xl/AVvXsEhc9hDGe5-TpLIiAlXdX1_DJaAg_Y0kRKxctVQlqPPdDf7XJX19cMQgwE2JWcxHX31yDtczIb1kDmWZN0sToGncmwsL4F8Gr9xlybjVdCRH2_r7vlJFdXERNvWVjCMoC_YX6PaBk1KjqRIT/s400/Inserting+a+picture.gif" /> </a>
If you want to move a picture by editing the HTML, make sure that you take all the code between the opening <a href .... and the closing </a>
For more information about how picture code is structured and how you can change it, see stopping pictures in your blog from being "clickable". and putting text and pictures side by side.
Where to find more information
Finding the URL of a picture that's stored in-Picasa web-albumsFinding the URL of a picture stored in Flickr
Copyright, blogs and bloggers
Inserting an animated picture into a blog post
Stopping pictures from being able to be clicked
Aligning text and pictures in blog-posts
Integrating Picasa and Blogger

No comments:
Post a Comment